MoniMaster Support: Monitor devices with others' permission.
Thinking about downgrading macOS 26 but not sure where to begin? While Apple's latest macOS update introduces sleek design changes and exciting new tools, many users find that the beta release can cause performance slowdowns, app crashes, and compatibility issues with essential software.
If you've upgraded too early and now miss the reliability of macOS 15 Sequoia, you're not alone. This guide walks you through the safest and most effective ways to downgrade macOS 26, protect your files, and get your Mac running smoothly again.

Why Downgrade from macOS 26?
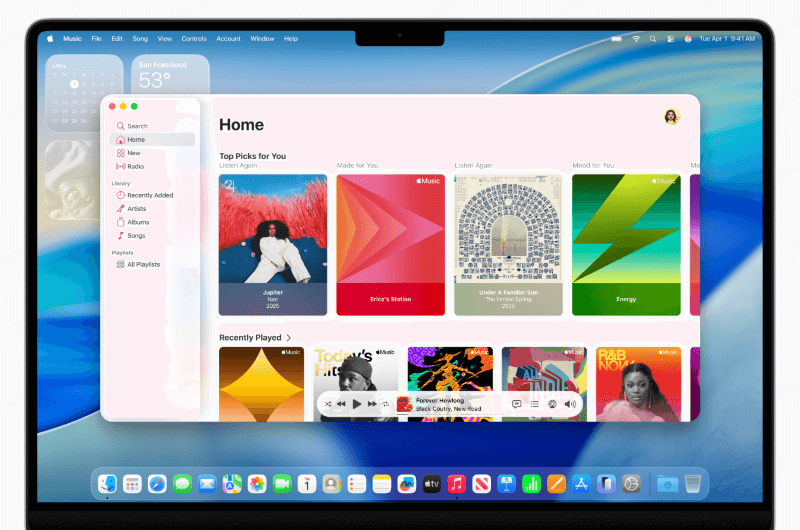
macOS 26 introduces attractive features like the Liquid Glass UI, the native Phone app, Live Activities on the desktop, and upgraded Spotlight functionality. But being a beta, it's also prone to:
- App instability or unexpected crashes
- Slow performance and overheating
- Incompatibility with third-party tools or hardware
- Frequent beta update interruptions to your workflow
If your workflow feels unstable, reverting to macOS 15 Sequoia, a mature and dependable release, might be your safest bet.

Step 1: Back Up Your Data (Absolutely Essential)
Downgrading means wiping your Mac's drive—so backing up first is non-negotiable. You have several solid methods:
- Time Machine (ideal backup if created before upgrading to macOS 26). Importantly, Time Machine backups from macOS 26 aren't backward-compatible with Sequoia.
- iCloud Drive, manual file copying, or cloud storage (e.g., Dropbox, Google Drive). These are useful if Time Machine isn't available.
Step 2: Choose Your Downgrade Method
Option A: Restore via Time Machine (Safest if Available)
- Connect your Time Machine drive.
- Restart and boot into Recovery Mode (hold ⌘-R).
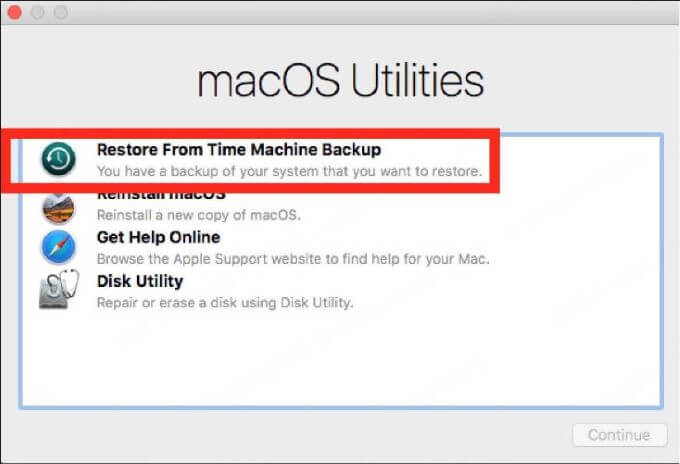
- Choose Restore from Time Machine Backup, select a backup from before the upgrade, and follow prompts to revert.

This keeps your apps, settings, and data intact—fully restored to macOS 15.
Option B: Use Recovery Mode to Reinstall macOS
If you lack a backup, you can still revert:
Restart and enter Recovery Mode:
- Command-R: Reinstall current macOS version
- Shift + Option + Command-R: Install the version that came with your Mac or closest available (good for rollback)
- Option + Command-R: Upgrade to the latest compatible macOS

Select Reinstall macOS, target your drive ("Macintosh HD"), and follow instructions.
Note: this method also erases your drive unless you purposely preserved data—and still requires backups.
Option C: Clean Install via Bootable USB Installer
Best for advanced users who want a fresh start:
- Download the macOS 15 Sequoia installer from App Store or Apple Support.
- Use a USB drive (16–32 GB) and run Terminal's createinstallmedia command to make it bootable.
- Restart, boot from USB, open Disk Utility, erase your drive, and then install Sequoia.
This ensures a clean slate—but you must restore your data manually afterward.
Step 3: Restore Your Data (If Not Already Included)
- If using Time Machine, your apps, files, and settings should auto-restore.
- For clean installs or USB methods, manually restore from your backups or cloud.
- If you didn't backup certain files before wiping, data recovery tools like Stellar Data Recovery can help retrieve lost files from formatted drives or backups.
Quick Comparison Table
| Method | Pros | Cons |
| Time Machine Restore | Smooth, retains data/settings | Requires pre-beta backup compatible with Sequoia |
| Recovery Mode Reinstall | No external tool needed | More manual, risk of data loss |
| Bootable USB Clean Install | Fresh, clean start | Manual restore required |
Final Tips for a Smooth Downgrade
- Back up before everything. Without it, you risk losing data forever.
- Confirm you have a compatible backup (pre-macOS 26) if using Time Machine.
- Keep your Mac powered and online during installation.
- After downgrade, check for updated drivers or app versions to ensure compatibility.
- If battery drain or performance lags persist post-downgrade, consider contacting Apple Support or visiting a Genius Bar — might be hardware-related.
Conclusion
Downgrading from macOS 26 back to the trusted macOS 15 Sequoia is entirely achievable—with the right backups and method, you can minimize hassle and keep your data intact. Whether you go the manual route (Time Machine, Recovery Mode, or USB) or prefer a one-click tool like ReiBoot, this guide helps you choose the best path for a safe, seamless transition.


